Please read and familiarize yourself with the correct handling, safety and operating procedures before attempting…
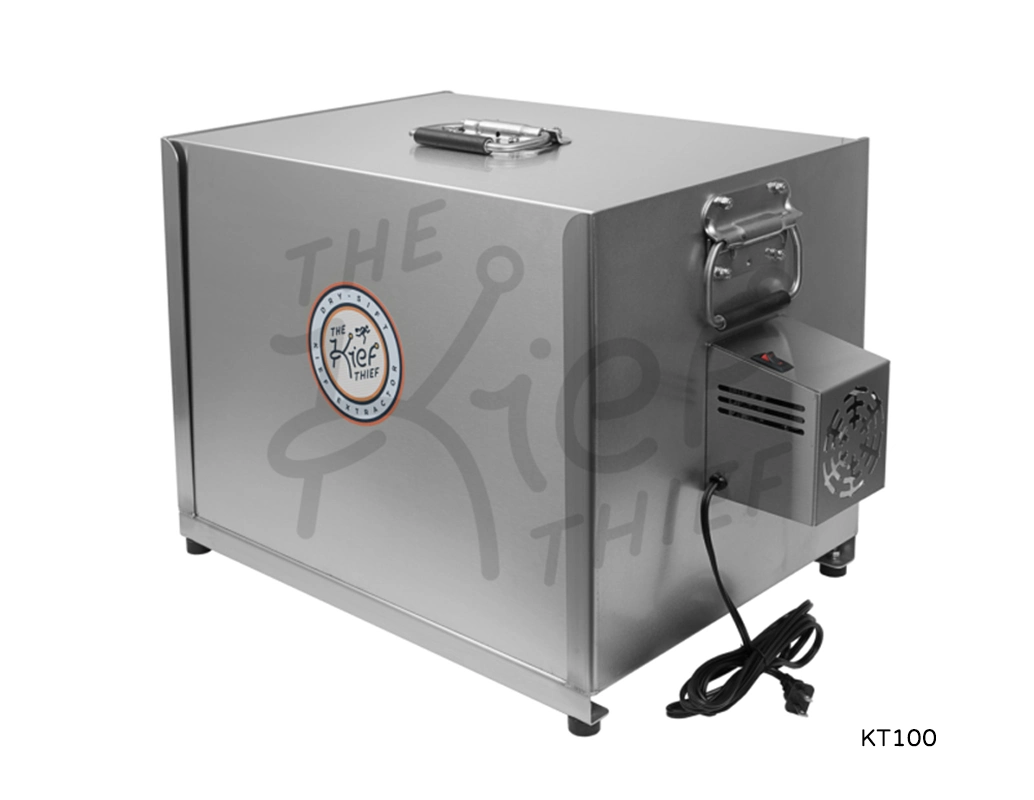
Kief Thief KT-4000 Instructions
Please read and familiarize yourself with the correct handling, safety and operating procedures before attempting to use the Kief Thief. We want to make sure you get the most out of your investment by learning how to properly operate, protect, clean and care for the Kief Thief. Be sure to select a proper location to operate the unit. The KT4000 must be operated in a clean, dry and well lit indoor space that has a dedicated and properly grounded 240 volt receptacle. Always use caution when handling or cleaning screens. Due to the nature of the thin stainless steel mesh there will always be some slight irregularities, wrinkles or small creases that will not affect the performance of the screen. Be sure that the machine is on a flat and level surface and that the casters are in the LOCKED position.
1.
Before opening and accessing the the sifter drum, be sure that the RPM dial is set to “0” and that the power switch is in the “OFF” position. Always use clean latex or nitrile gloves when using or handling the screen panels to avoid contaminating them with oils or dirt.
2.
Lift open the main stainless steel cover
3.
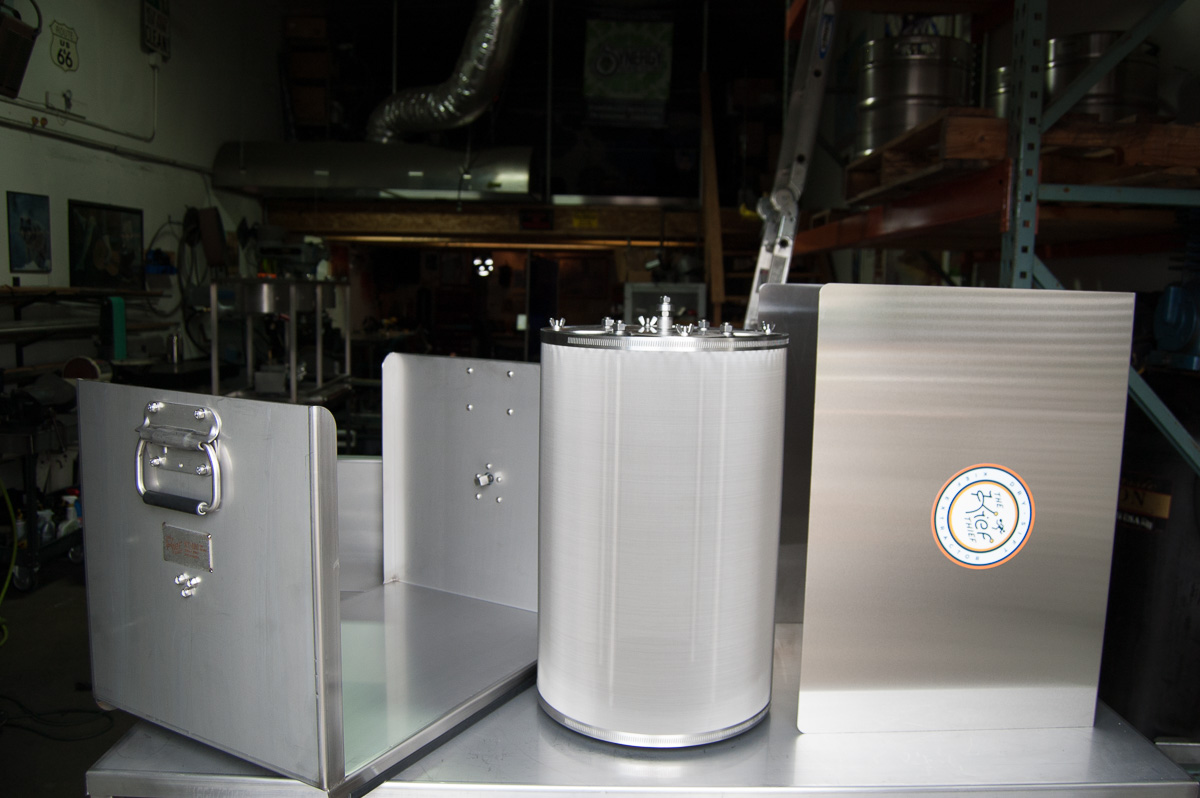
Locate the removable access screen panel and remove all of the panel tension knobs.
4.
Carefully remove the access screen panel and set on a flat, clean surface.
5.
With the access panel removed the sifter drum can be filled with material. Be sure to leave about 30% of empty space in the drum so that the material is free to tumble and move. If the drum is too full this will result in low yields.
6.
Install the access panel screen in place. Install and gently tighten the tension knobs. These should be just tight enough so that the screen frame is gently compressing the gasket all the way around the frame.
7.
Now that the sifter drum is loaded with material and access panel is tightened the main lid can now be closed.
8.
With the main top lid closed, switch the main power switch into the ” Start” position. The RPM dial switch can now be turned to the desired RPM and the sifter drum will begin to turn. We recommend running at 30-60 on the RPM selector dial which equals between 5-10 RPMs if you are trying to achieve the highest quality Kief. The faster the drum is turned, the more vegetative material will end up in the final product. We do not recommend running the machine above 75 on the RPM dial. We recommend running the material for a minimum of 20-30 minutes and as long as 12 hours. Since everyone’s situation, material, material uses, quality and throughput needs vary, you must experiment for your self to see what works best for your situation.
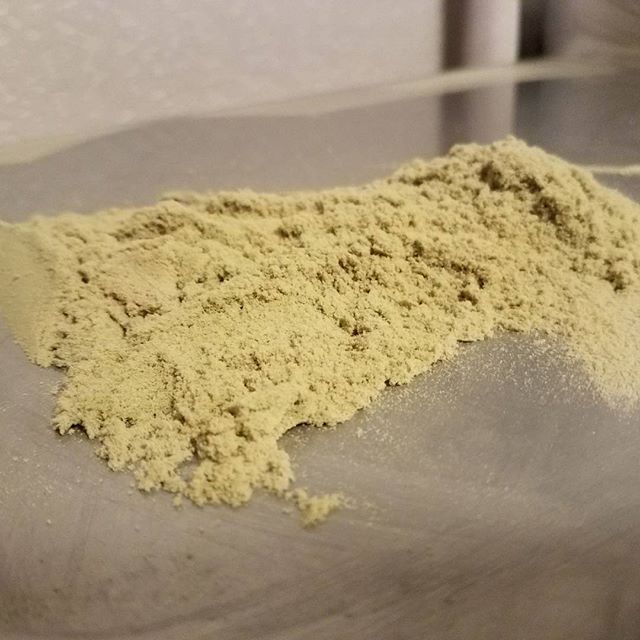
Once you have sifted your material thoroughly it is now time to collect your Kief.
1.
Turn the Kief Thief power switch into the “STOP” position and turn the RPM dial to the “0” position.
2.
Once the power is OFF and the sifter drum has stopped turning you can gently lift up the main lid. Never operate the sifter with the lid in the open position.
3.
To collect the kief we recommend using FDA approved food basting brushes with black bristles or a piece of card stock to swipe down the sides of the cover, sifter drum and sifter chassis to collect the kief. The black bristles are easier to spot and remove from the kief if they happen to fall off. Gently dust or swipe down all interior surfaces of the machine and sifter drum. Avoid using too much pressure against the screens and avoid touching the screens with bare hands as the oils from your skin will clog the and damage the screens.
4.
Once the interior walls, lid and sifter drum have been swiped off you can now remove the lower collection tray from the chassis. Once the collection tray is removed and placed on a clean and sturdy surface, it is now time to prepare to unload the spent material.
5.
With the lower collection tray removed and power in OFF position, you can now remove the access panel screen from the sifter drum. Carefully place access screen panel on a clean and flat surface.
6.
With the access panel removed you can now place a your tote, bin or container underneath the bottom of the sifter drum. We recommend using FDA approved plastic fruit or wine grape totes as they are designed to be moved with a lift truck dolly or forklift.
7.
With the collection bins in place, CLOSE the outer lid of the machine and turn the power to the ON position. Turn the RPM switch to the 25% position and allow the unit to run for about 30 seconds to ensure that all of the spent material has fallen out of the sifter drum and into the collection bins below.
8.
Once all of the spent material has been removed from the sifter drum, turn the RPM switch to the 0% position and then turn the power switch to the OFF position.
9.
It is now safe to dispose of the spent material. The sifter drum is now ready to be refilled, stored or cleaned.
10.
We recommend leaving the lower collection tray removed while refilling the sifter drum to avoid contaminating the collection tray if you happen to spill material while filling. Once the sifter drum has been filled to desired capacity, the access screen panel can be installed. Install and gently tighten down the tension knobs. With the access screen panel installed you can now slide the lower collection tray back into place. The machine is now ready to be operated again.
1.
Under normal operating conditions the screens do not need constant cleaning between cycles as the new material helps push the old spent material through the screens. If a different material is being used or the machine has become contaminated, you can use a soft bristled FDA approved basting brush, silicone bristled brush or card stock to swipe the inside and outside of the sifter drum to help remove material. If using compressed air make sure that you observe proper safety methods and that the air source is connected to an oil and water separator. Make sure that the air nozzle does not contact the screen and that only 30 PSI or less is used. A shop vac can also be used, but care must be taken to protect the screens from damage during the cleaning process.
2.
If the sifter drum screen has become clogged or contaminated you should clean the screen using either of the above methods and prepare a grain alcohol solution of at least 50% -95% alcohol. Place the solution in an approved spray bottle. Make sure you are using proper skin and eye protection and begin to spray down the sifter drum screen from the outside with the access panel screen removed and the drum cycled so that the removed screen is facing downward to allow material to fall out the bottom of the unit when being sprayed down.
3.
Once the sifter drum has been thoroughly cleaned it should be allowed to dry. The sifter chassis and cover can also be wiped down with the alcohol solution for decontamination. The drum can then be re installed for storage in the sifter chassis. To remove fingerprints from the outside of the stainless steel chassis you can use a lint free towel and acetone to wipe the surfaces clean.
Do not spray alcohol, water or any other substance directly into the motor.
The AC motor speed control driver instruction manual can be found here: https://www.grainger.com/ec/pdf/Dayton-Hybrid-AC-Drive-NEMA-4X-IP65-Manual.pdf
If you have any questions or concerns please don’t hesitate to send us an email at info@kiefthiefs.com or give us a call @ (541) 515-6518
Related Posts